First Steps #2: The REPL
This is post #2 in our First Steps series. Want to learn Julia but don't know where to start? Start here!

Prerequisite
- You have Julia installed on your computer.
What is the REPL?
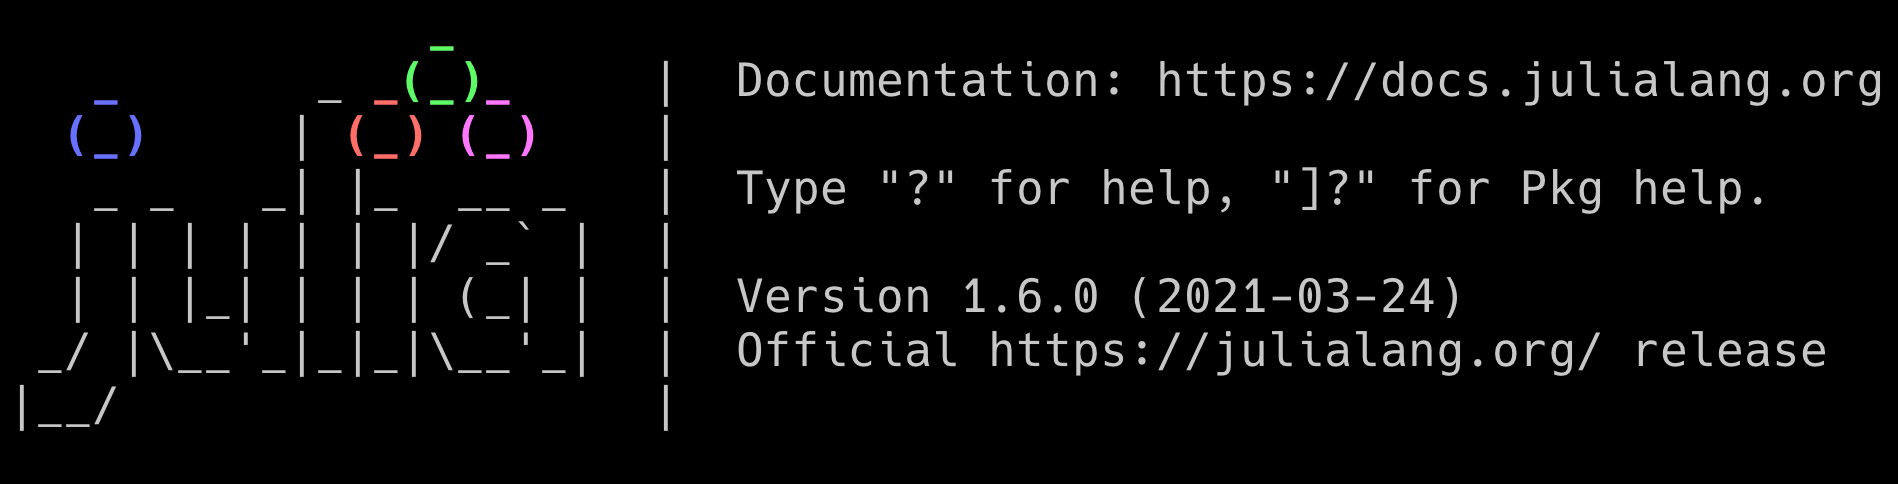
REPL stands for Read-Eval-Print-Loop. When you open Julia (double-click the icon or type julia in a terminal if you have it on your PATH), you'll enter Julia's REPL. You'll see something like this:
               _
   _       _ _(_)_     |  Documentation: https://docs.julialang.org
  (_)     | (_) (_)    |
   _ _   _| |_  __ _   |  Type "?" for help, "]?" for Pkg help.
  | | | | | | |/ _` |  |
  | | |_| | | | (_| |  |  Version 1.6.0 (2021-03-24)
 _/ |\__'_|_|_|\__'_|  |  Official https://julialang.org/ release
|__/                   |

julia>When you type something and press enter, Julia will take your input, evaluate it, and print the result, e.g. typing x = "Hello" and hitting enter will result in:
julia> x = "Hello"
"Hello"

julia>REPL Modes
Julia's REPL has amazing modes that affect how Julia interprets your input. Here are the modes that are built-in:
? ➡ Help Mode 📖
Help Mode does a few things, best seen through example. Type ? to enter Help Mode. Then type println and press enter.
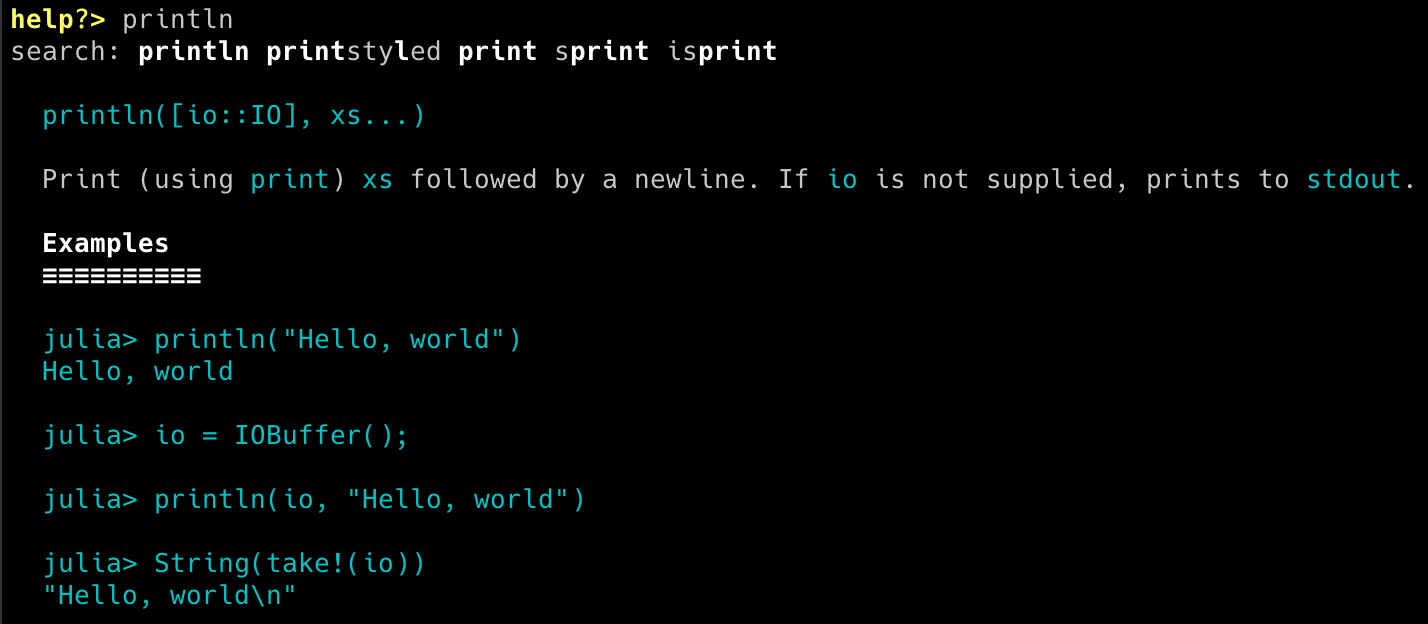
?println Output- The top line displays a fuzzy search of what you searched for. This will help you find items even if you mistype something.
- If your search term matches an existing identifier, the documentation for that identifier will print. In this example our search found the function
println.
Press delete to go back to Julia mode and type x = 1. Now type ?x.
- Your search
xmatches with thexyou just created. However, there is no documentation available, so a summary ofx(its type information) is printed out instead. We'll talk about types in a future post.
; ➡ Shell Mode 💻
This lets you run shell commands (as if you opened a terminal but didn't start Julia). A benefit of Julia's Shell Mode is that you can interpolate values into a command with $, e.g.
shell> echo $x
1] ➡ Pkg Mode 📦
Pkg Mode lets you run commands with Julia's package manager (we'll cover this in-depth in a future post) . In the previous post we added packages with:
using Pkg

Pkg.add("StatsBase")
Alternatively, we could have used Pkg Mode and entered add StatsBase instead 🎉! On a fresh install of Julia 1.6 you'll see something like:
(@v1.6) pkg> add StatsBase
    Updating registry at `~/.julia/registries/General`
    Updating git-repo `https://github.com/JuliaRegistries/General.git`
   Resolving package versions...
    Updating `~/.julia/environments/v1.6/Project.toml`
  [2913bbd2] + StatsBase v0.33.4
    Updating `~/.julia/environments/v1.6/Manifest.toml`
  [34da2185] + Compat v3.25.0
  [9a962f9c] + DataAPI v1.6.0
  [864edb3b] + DataStructures v0.18.9
	⋮
  [3f19e933] + p7zip_jll
  Progress [========================================>]  10/10
10 dependencies successfully precompiled in 9 secondsREPL Modes are extendable! 🔌
Julia packages can add their own REPL modes. Some examples are:
Notable REPL Features
Re-Run a Line
- Press the up key to display the previously-run command. Continue pressing up to go through your history.
- Press ctrl-r to activate a search of your history. Begin typing and the most recent line that contains your search will appear. You can continue pressing ctrl-r to move backwards through matching lines in your history and ctrl-s to move forward. If you've only run the commands seen in this and the previous post, typing
xwill then find thex = 1line you entered earlier. Press enter to choose the matching line.
The Value of the Previous Line
The Julia REPL stores the value of the previous line in a variable called ans.
julia> x = 1
1

julia> ans + 1
2ansTab-Completion
You can Auto-complete names, file paths, symbols, and emoji.
- Try typing
prinand pressing tab. Your input will change toprint. Now press tab again. Julia will show you that there are more identifiers available that also match withprint.
julia> print
print println printstyledprint[TAB]- Julia can help you type out file/directory paths when you press tab inside of a string. For example, suppose you have a file at
"/Users/<username>/file.csv". Typing"/Users/<username>/f"and then tab will autocomplete theftofile.csv(if it's the only file/directory that begins withf). If there are multiple matches, press tab again to display them. - Try typing
\piand pressing tab. Your input will change toπ! 🎉 - Try typing
\:smile:and pressing tab. Your input will change to 😄! Fun fact: This feature was introduced as an April Fool's Day joke but won traction in the Julia community. You can even use emoji as variables! There's no good reason to do this, but it's neat 🙃.
julia> 😄 = 1
1

julia> 🚀 = 2
2

julia> 😄 + 🚀
3Skip Printing
Sometime you may not want to display the return value of a line (e.g. the object prints a wall of text). You can always skip displaying an object by adding ; to the end of a line:
julia> x = "1234"
"1234"

julia> x
"1234"

julia> x;

julia>;That's It!
This is a high-level overview of the Julia REPL. It covers the things you'll need to know to get started with the REPL. If you want to go further into the weeds, check out the official docs here.
Next up is First Steps #3: Plots.